Choose the roaster around the meal
A Granite Ware roaster should fit three things: the food you cook, the oven you own, and the way you carry a hot pan. The size printed in a product name answers only part of that question. Handles extend beyond the cooking space, a domed cover needs room above the food, and a pan that fits a holiday bird may feel cumbersome for a Tuesday dinner.
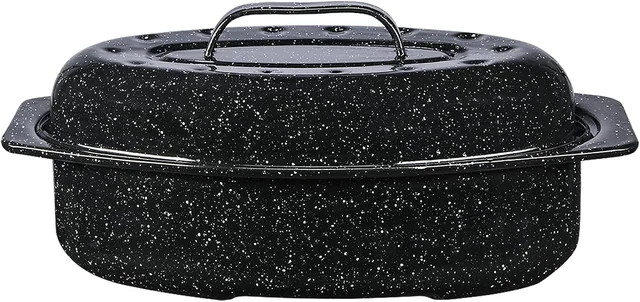
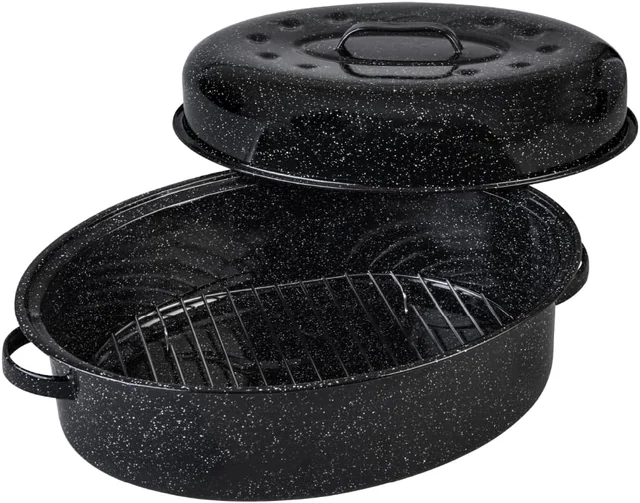
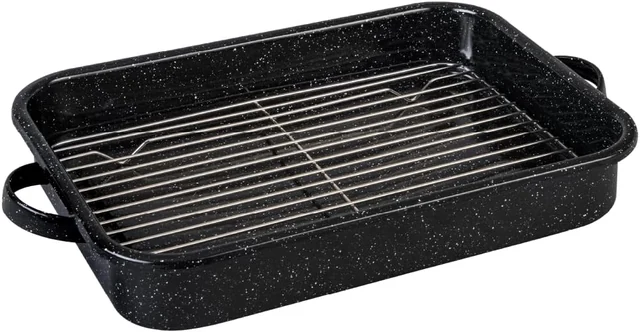
Start with your regular meal, then consider your largest gathering. A covered oval pan might suit a whole chicken or a compact roast. A rectangular pan can make better use of the corners when you want separate portions or a broad layer of vegetables. Neither shape is automatically better. The useful choice is the one that suits your menu without making loading, lifting, washing, or storage awkward.
This guide focuses on choosing and planning with enamel-on-steel cookware. It is not a cooking-time chart, and the photographs of a particular model do not establish the capacity of another. Use the dimensions, care directions, and included pieces shown on the exact product you choose. You can compare current options in our Granite Ware roaster collection, then return to the measurement worksheet below before making a decision.
Understand the material before comparing pans
Granite Ware's familiar speckled appearance belongs to enamelware, not to a pan carved from stone. The current manufacturer's description of its 18-inch covered oval model identifies enamel-coated steel. That combination is distinct from enameled cast iron, bare carbon steel, and a stainless-steel roasting pan. Similar-looking dark surfaces can therefore belong to cookware with different construction and instructions.
The difference matters when you read a recipe or watch a demonstration. Instructions that begin by heating an empty cast-iron vessel are not automatically suitable for an enamel-on-steel roaster. A recipe demonstrates a particular method in particular equipment; the cookware's own restrictions still apply. Decide which pan you are using before you commit to a preparation that assumes a different material.
For the manufacturer's 18-inch example, the care directions say to avoid overheating the empty piece, protect your hands from hot handles, and let it cool before cleaning. Its instructions also exclude glass cooktops. These are model-specific requirements, not a reason to guess about every item carrying the brand. Read the manufacturer's roaster information alongside the instructions supplied with your purchase.
For a broader explanation of enamel, cleaning tools, and storage, keep our enamel-on-steel care guide handy. A good care routine begins with the correct material name.
Take four measurements, not just one
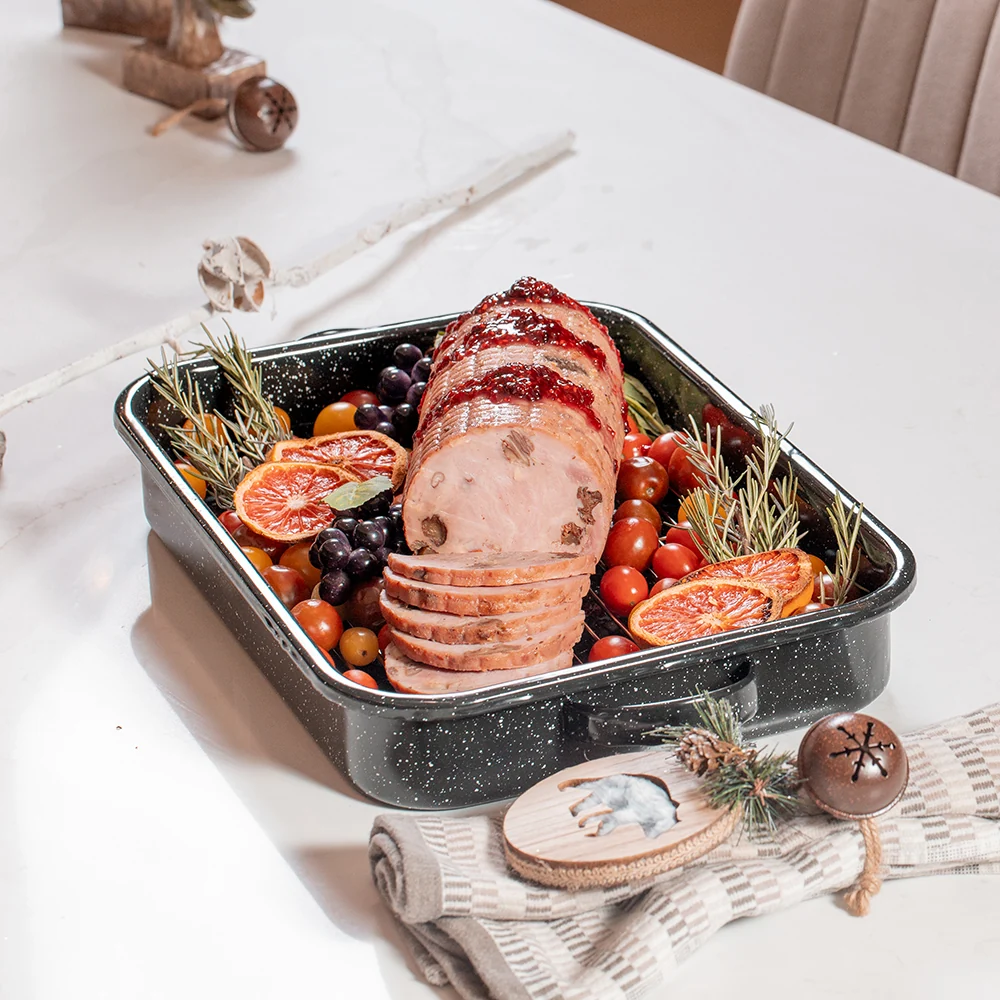
Measure the usable oven rack from left to right and front to back. Include anything that narrows the space, such as rack stops or the shape of the oven walls. Then measure the height available above the rack at the position you expect to use. The roaster must enter the oven comfortably with its handles and cover in place.
Next, compare those measurements with the pan's overall dimensions. Interior dimensions answer a different question: whether the food fits inside. An advertised length can refer to the outside of the pan rather than the cooking area. If a product page does not distinguish the two, resolve that uncertainty before buying for an unusually large cut of meat.
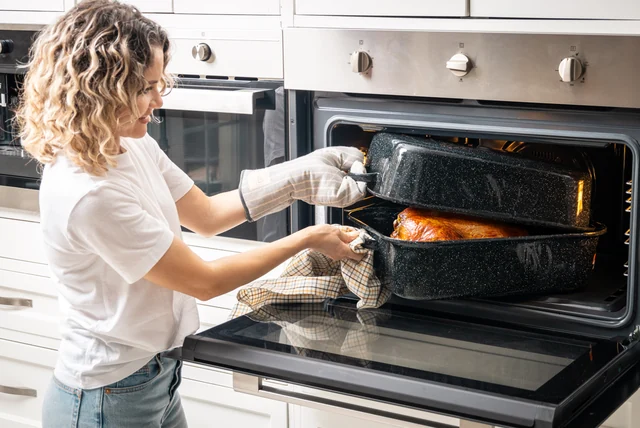
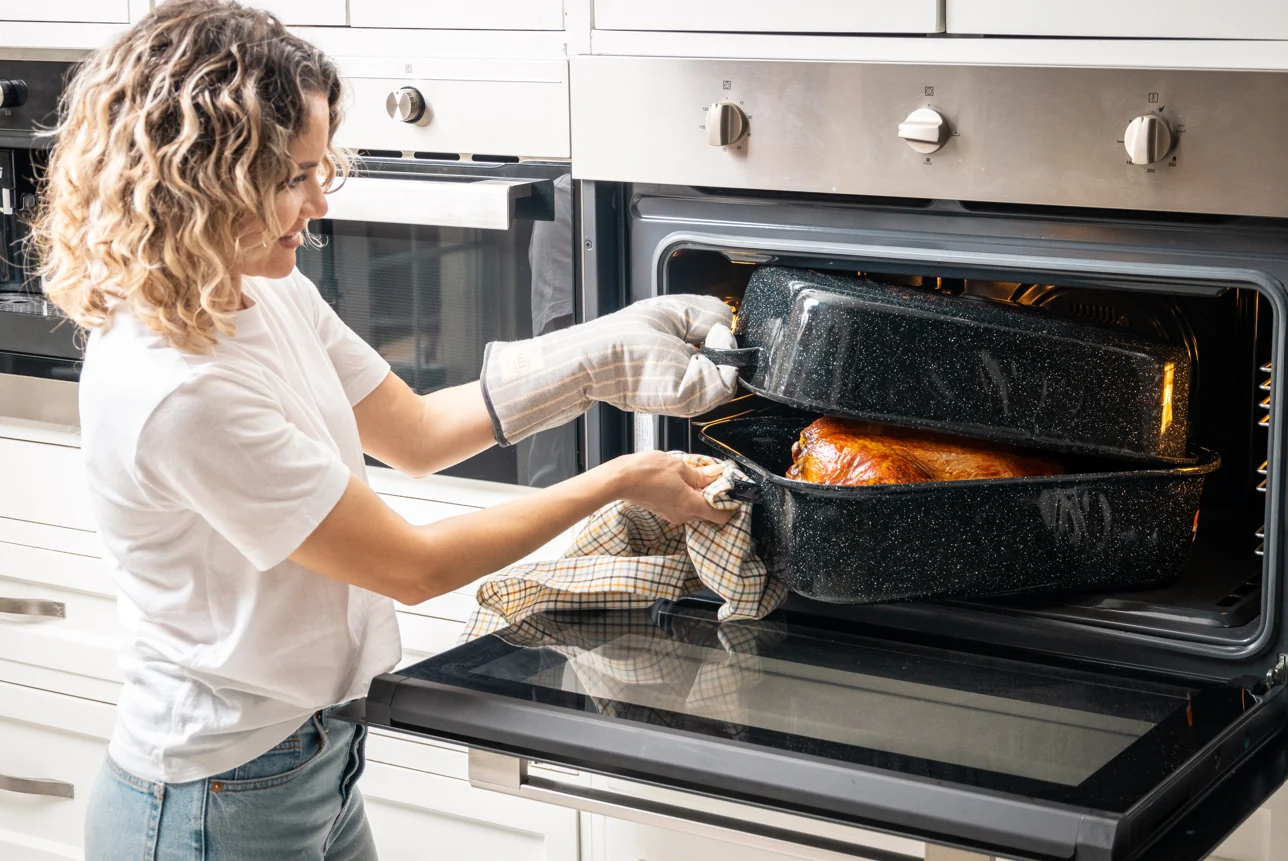
Finally, think through the route out of the oven. There should be a stable, heat-protected landing place ready nearby. A pan can technically fit on a rack but still be difficult to reach around with oven mitts. Measuring the doorway, handles, and landing area together is more useful than discovering that problem while dinner is hot.
| Measurement | What it answers | Record before shopping |
|---|---|---|
| Overall pan length and width | Will the pan and handles fit the oven and shelf? | Compare with usable rack space |
| Interior length and width | Will the food sit inside without being forced against the sides? | Compare with the planned roast or arrangement |
| Height with cover | Is there room for both the food and the lid? | Compare with rack spacing |
| Sink and storage opening | Can the pan be washed and put away conveniently? | Check the opening, not just the cabinet interior |
Read capacity claims in context
A pound rating describes an intended food load, not a universal shape. Two birds with the same weight can have different proportions, and a tied roast occupies space differently from individual portions. A lid adds another constraint because food that fits in an open pan might sit too high when the cover is lowered.
Look for separate covered and uncovered capacity statements where the manufacturer provides them. Do not treat an uncovered rating as permission to press a cover onto the food. The cover should sit as intended, and its handle should remain accessible. If you need a rack, that rack also consumes interior height and must be suitable for the pan.
Quarts and pounds are not interchangeable measures of usefulness. A volume figure may help you compare vessels for liquid-based preparations, but it does not tell you how a whole bird will sit in an oval base. Likewise, a long pan can have limited width. Keep the actual outline and interior dimensions beside the capacity number.
For an occasional large gathering, there may be alternatives to buying the biggest vessel available. You could choose a different cut, prepare separate dishes in appropriate pans, or arrange the menu around food that fits your equipment. That decision belongs in the planning stage, while you can still change the shopping list. Avoid making a tight fit the central challenge of the meal.
Choose oval or rectangular for the way you arrange food
An oval outline follows the shape of many whole birds and compact roasts. A rectangular outline offers corners that can be useful when arranging individual pieces or making a side dish. Those are layout differences, not performance guarantees. The best shape depends on whether the recipe needs a close-fitting vessel, a broad surface, a rack, or room to turn individual portions.
Sketch the food arrangement before you shop. For a family meal, draw the main item and the sides you expect to cook with it. If the sketch leaves no room to reach the food with utensils, a larger footprint or separate vegetable pan may be more practical. This simple drawing can reveal a poor fit more clearly than a product photograph.
Consider serving as well. A long oval pan may sit naturally at the center of a narrow table, while a rectangular dish may align more easily with other dishes on a counter. Check the weight of the complete meal and choose a serving arrangement that does not require repeated lifting of the hot cookware.
| Your usual meal | Useful shape question | What to check on the exact model |
|---|---|---|
| Whole poultry or a compact roast | Does the outline suit the food with its cover fitted? | Interior length, width, and covered capacity |
| Several individual portions | Is there enough usable floor space? | Base shape and access for utensils |
| A main dish with vegetables | Can the ingredients be arranged as the recipe requires? | Cooking area rather than advertised length |
| Oven-to-table serving | Will the vessel fit the landing and serving space? | Handles, heat protection, and overall footprint |
Give the cover and accessories a specific job
A cover changes how you manage a dish, but it does not decide the entire recipe. Choose a recipe written for the cooking method you intend to use, including when the pan is covered or uncovered. Do not assume every meal should spend its whole cooking time under a lid simply because the roaster includes one.
Before preparing ingredients, place the cover on the empty, cool pan and check that you understand its fit. Find a heat-safe place to put it when it is removed. This small rehearsal is particularly useful in a crowded kitchen, where an unexpected hot lid can displace a cutting board or serving dish at the busiest moment.
Treat a roasting rack as a separate component with its own dimensions and purpose. A rack pictured beside a pan is not necessarily included. Check the contents list. If you already own one, measure its feet, handles, and height rather than assuming that the stated pan size will accommodate it. An accessory that tilts or interferes with the cover is not a sensible substitute for the right fit.
Also distinguish a removable roasting rack from a canning rack. They are intended for different arrangements and should not be exchanged merely because both are wire structures. If your next task is preserving food in jars, use the equipment guidance in our water-bath canning guide and the instructions for the canner itself.
Compare alternatives by construction and use
Shopping across materials is easier when the comparison names actual cookware. A Granite Ware covered oval roaster, a Le Creuset Signature rectangular roaster, and a Made In Stainless Clad roasting pan are different designs. A fair comparison helps you identify those differences rather than declaring one material the winner for every kitchen.
Le Creuset's Signature roaster uses enameled cast iron, has an open rectangular form, and is listed for all stovetops including induction. The manufacturer specifies an oven limit of 500°F. Made In's Stainless Clad roasting pan uses a three-ply construction and includes a rack; its product page lists a 600°F heat limit and recommends hand washing. Read the exact Le Creuset and Made In specifications when comparing.
The practical question is which combination of shape, included parts, care, compatibility, and price fits your routine. You might value a covered vessel for one family recipe, an open pan with a rack for another, or a shape that makes an existing oven easier to use. A preference is most useful when you can connect it to a meal you actually cook.
| Comparison point | Why it belongs on your shortlist | Avoid this shortcut |
|---|---|---|
| Construction | Recipes and care instructions may depend on the material | Assuming every enamel surface has the same metal underneath |
| Cover and rack | Included pieces affect the ways you can arrange food | Treating a styled photograph as a contents list |
| Cooktop compatibility | An oven-safe pan may have separate stovetop restrictions | Assuming a magnetic base proves every use is approved |
| Washing and storage | These determine how convenient repeated use will be | Choosing only by maximum capacity |
Build the meal around the equipment you have
Write the menu before arranging the oven. Put each dish beside its vessel, oven setting, and approximate stage in the meal. This reveals conflicts that a cookware purchase cannot solve, such as several dishes needing the same rack position at once. You can then change the sequence, simplify a side dish, or choose a preparation that uses another appliance appropriately.
Keep a separate space on the plan for preparation and serving. The roaster is only one part of the meal. You may also need a board for handling ingredients, a platter for the finished food, a suitable thermometer, utensils, and containers for leftovers. Giving those items a location prevents the countertop from becoming an improvised storage shelf.
A useful rehearsal can be done with cool, empty cookware. Put the roaster on the intended rack, close the door, and check access. Set its cover on the planned trivet. Arrange the other empty dishes nearby. Nothing needs to be heated to discover that a handle blocks another pan or that the available landing area is too small.
For a busy holiday kitchen, assign tasks rather than merely asking for help. One person can prepare the serving area while another finishes a side dish. Keep the person handling the oven free from interruptions during lifting and placement. A clear path and a known destination make a more practical contribution than an extra decorative accessory.
Make the first meal a familiar one
Use a recipe you already understand when trying a new roaster. That keeps the equipment as the main new variable. A completely unfamiliar recipe, a different oven, and a new pan can make it difficult to work out what caused a disappointing result. Familiar ingredients and a manageable quantity give you a clearer starting point.
Read both the recipe and the cookware instructions before preparing food. Confirm the heating method, the required cover position, and any restriction on empty heating. Check whether the recipe assumes a rack. If its equipment requirements do not match the pan, choose another recipe rather than improvising around an instruction you do not understand.
Keep notes that describe observations instead of declaring conclusions. Record the recipe, quantity, rack position, and any adjustment you made. If the arrangement was cramped, write that down. If the pan was awkward to wash in your sink, that also matters. Those notes help you refine a repeat meal without claiming that one dinner proves a universal performance result.
Take measurements while the cookware is cool, and keep the instructions where you can find them. A photograph of the product label and a simple note of its dimensions can save time later. When someone asks which pan you used, you will have the exact size instead of relying on the approximate appearance of a photograph.
Separate oven settings from food temperature
An oven setting tells you how the appliance is operating. It does not establish the temperature inside the food. A pan's heat rating is a third number, describing equipment use. Keeping these three ideas separate prevents a common mistake: assuming that food is ready because it has spent a certain time in an oven that feels hot.
Use a food thermometer and the appropriate current guidance for the food you are preparing. FoodSafety.gov lists 165°F for poultry and casseroles, 160°F for ground meat, and 145°F followed by a three-minute rest for whole cuts of beef, pork, lamb, and veal. These are food temperatures, not suggested oven settings or cookware limits.
For a whole turkey, the CDC advises an oven setting of at least 325°F and checking 165°F in the thickest breast area and the inner thigh and wing areas, avoiding bone. Its guidance also covers thawing and stuffing. Follow that full guidance for your preparation rather than relying on the color of the skin or a pop-up indicator alone.
On your meal plan, give temperature checks their own line. Put the thermometer somewhere easy to reach before cooking begins, and read its instructions. That keeps it part of the preparation rather than an item you search for while the rest of dinner waits. If you change the size or arrangement of the food, reassess the plan instead of treating the previous meal's timing as a guarantee.
Plan the final ten minutes before the first ten
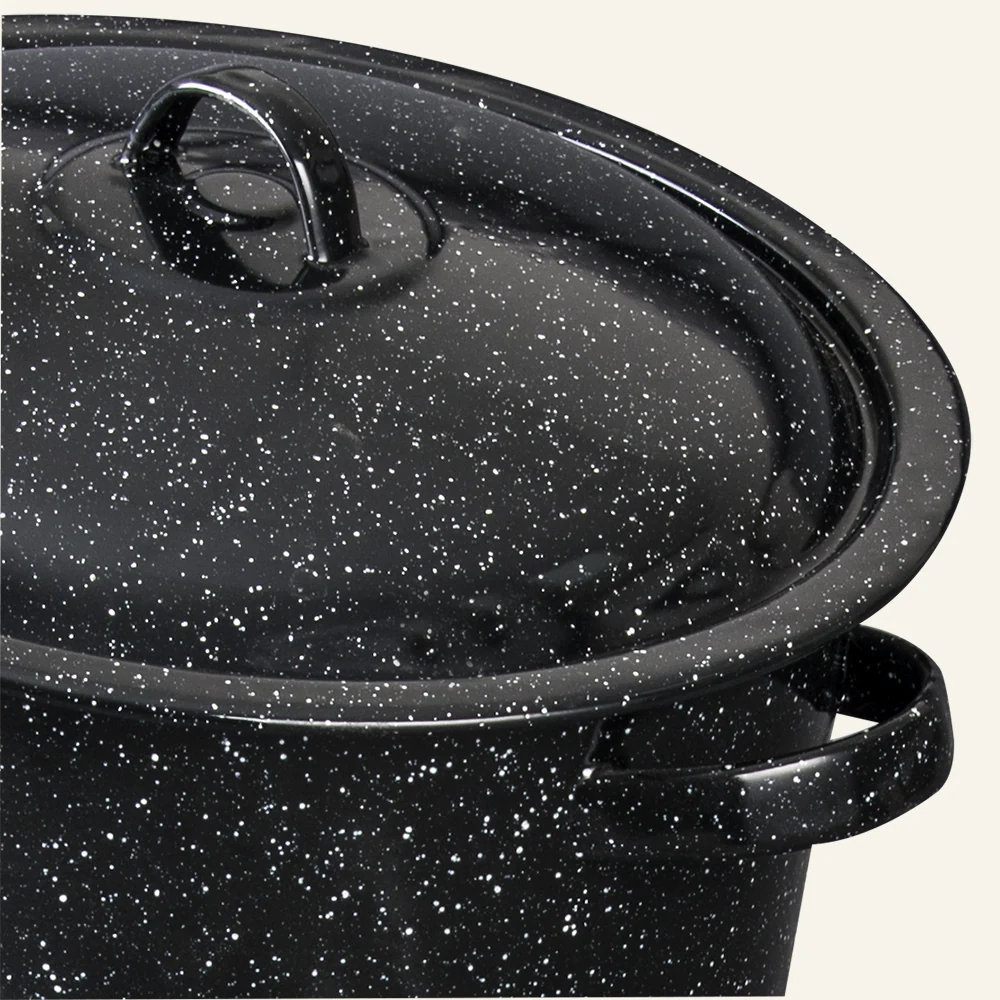
The end of cooking brings several tasks together: checking the food, clearing the oven, removing the cover, serving, and dealing with other dishes. Prepare that stage before the pan goes in. Set out heat protection, serving utensils, and the dish or board intended for the finished food. Keep the route from oven to landing place clear.
The roaster does not have to be the serving vessel. Transferring food to an appropriate platter can make a crowded table easier to use and leave the cookware in a suitable location. If you do serve from the roaster, use proper heat protection and arrange the table so diners do not need to reach across its handles.
Decide in advance where leftovers will go. The CDC advises prompt refrigeration, generally within two hours and within one hour above 90°F, and recommends smaller portions for a large roast or turkey so the food cools more readily. It gives three to four days for refrigerated cooked turkey and recommends reheating leftovers to 165°F. See its complete turkey guidance for details.
Separate cleaning from serving decisions. An empty hot pan can remain in a safe place while you finish organizing food, but do not use the sink as an unplanned landing area where someone might turn on cold water. Tell anyone helping with cleanup which cookware is still hot and which pieces are ready to wash.
Use cleanup to improve the next meal
When the cookware is cool, begin with the cleaning method in its instructions. For the current 18-inch manufacturer example, warm soapy water, a soft sponge, and soaking for stubborn residue are the stated approach. Avoid treating stronger abrasion as the automatic next step. More force is not always a better answer to baked-on food.
Inspect the pan while it is clean and dry. Look at the cooking surface, rim, handles, and cover fit. If you discover damage or a loose component, resolve it before the next use. Keep the purchase record and model information available if you need to ask the seller or manufacturer about a defect. Photographs are more helpful when they clearly show both the whole item and the specific area of concern.
Review the practical details of the meal while they are fresh. Did the pan fit comfortably? Was the lid easy to place? Did you have an appropriate serving tool? Did the dish leave enough space for the rest of the menu? Adjust one or two things for next time instead of buying several accessories to solve a problem you have not identified.
Work through two different household needs
Consider a household that usually cooks for two but occasionally hosts guests. Its most useful roaster may be the one that suits regular meals and fits comfortably beside another dish. The occasional gathering can be planned around that equipment, with an additional suitable pan if needed. Buying solely for the largest imagined occasion can leave the everyday task unnecessarily cumbersome.
Now consider a household that regularly prepares a larger family meal. Here, interior space and access to the food may deserve greater weight. The shopper should still measure the oven and sink, but might reasonably accept a larger storage footprint because the pan will be used often. The right decision changes with the frequency of the task, not with a universal rule about how much cookware every kitchen should own.
Both households can use the same method: describe the regular meal, identify the essential fit requirements, and decide how to handle the less common occasion. Neither needs to translate a headcount directly into an unsupported pan capacity. Portion sizes, the rest of the menu, and the shape of the main food all affect the plan. A short written description of those needs is more helpful than choosing the middle size simply because it looks like a safe compromise.
Make a shortlist you can explain
Before choosing, write a sentence that describes the job: a covered pan for a regular family roast, a broader vessel for arranged portions, or a roaster that fits a particular oven shelf. Then list the dimensions and included pieces that support that job. This keeps the decision grounded when two attractive photographs seem equally persuasive.
Give each candidate a quick pass or fail on the essentials. If it cannot fit your oven, its other benefits do not fix that. If a required compatibility statement is missing, do not replace the missing information with a guess. Once the essential checks pass, compare convenience, storage, and the budget you have set.
| Final check | Ready to choose when... |
|---|---|
| Meal | You know the food, quantity, and covered or open method |
| Fit | Overall and interior dimensions answer different questions clearly |
| Handling | The oven route and heat-safe landing place work |
| Contents | You know whether a cover or rack is included |
| Instructions | The intended heat source and care method are supported |
| Storage | The clean pan and its lid have a practical home |
Open the roaster collection with that list beside you. If your everyday task is simmering soup or preparing a larger volume of food on the stove, compare pots and pans instead. A clearly defined task is the most useful specification you can bring to cookware shopping.