Choose the recipe before the canner
A Granite Ware water-bath canner belongs to a particular kind of preserving. It holds jars in boiling water; it is not a pressure canner. That distinction should guide the food you plan to preserve before you compare pot sizes, tool sets, or storage space. Buying a larger water-bath vessel does not expand the range of foods that can safely use the method.
Start with a current, research-tested recipe from a recognized preservation source. Read the complete instructions, including the food preparation, jar size, packing method, processing method, and adjustment for your elevation. Then choose equipment that supports that recipe. This order avoids the frustration of buying a canner and discovering that the food you wanted to preserve requires something else.
The National Center for Home Food Preservation explains that low-acid foods require pressure canning. Water-bath methods apply to suitable high-acid or properly acidified foods when prepared according to tested directions. A sealed lid alone cannot establish that an improvised recipe is safe. Do not substitute a household soup or vegetable recipe for a tested canning formula.
This guide helps you choose equipment and organize the work. It does not supply processing schedules or replace a tested recipe. Keep the original recipe open as you work, and use our Granite Ware canning collection to compare the actual dimensions, rack, and tools you need.
Identify what each piece is for
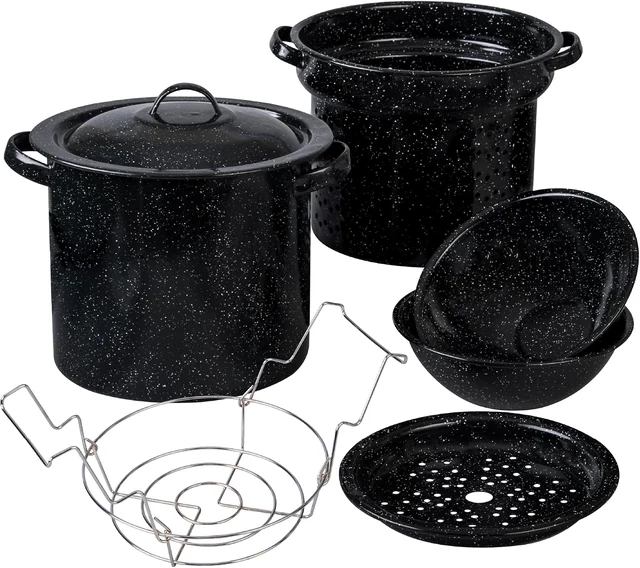
A canning setup has several distinct jobs. The pot contains the water, a suitable rack supports the jars, the cover belongs to the heating process, and the tools help with filling and handling. A set may combine those pieces, but the number of items in its title does not tell you whether it includes everything for your recipe.
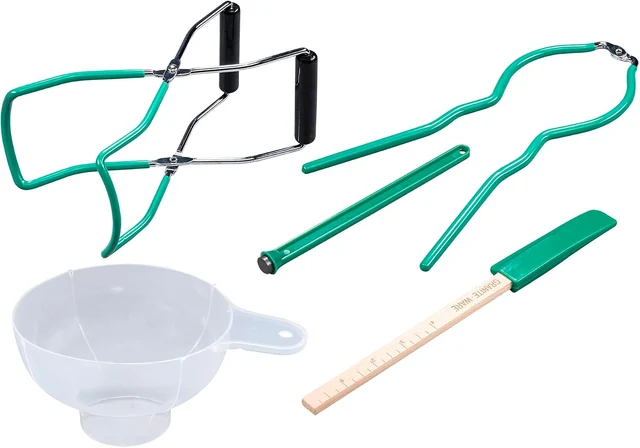
Read the contents list line by line. A jar lifter and a rack are different tools. A funnel is not a substitute for a headspace measure, and a lid accessory does not determine how the lid should be prepared. Follow the current instructions from the maker of the jars and closures you use. Tools make the work more organized; they do not replace those directions.
Think about what you already own before choosing a bundle. If you have suitable utensils and jars, a canner with its proper rack may be the only missing piece. If this is your first setup, a kit can simplify the shopping list, but it still needs to be checked against the recipe. Write down missing items rather than relying on a photograph of an assembled collection.
| Component | Job in the setup | Check before buying |
|---|---|---|
| Canner and cover | Contain the water and support the specified heating process | Exact size, base, and heat-source instructions |
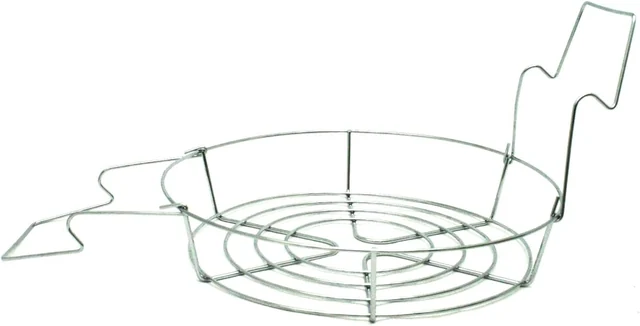
| Canning rack | Support the jars inside the pot | Fit, jar arrangement, and included status |
| Jar lifter | Handle individual jars as directed | Secure fit and clear operating instructions |
| Funnel and measuring tools | Help organize filling and recipe measurements | Appropriate size and readable markings |
| Jars and closures | Hold the food through the specified process | Correct jar size and current closure directions |
Match capacity to jars, not just quarts
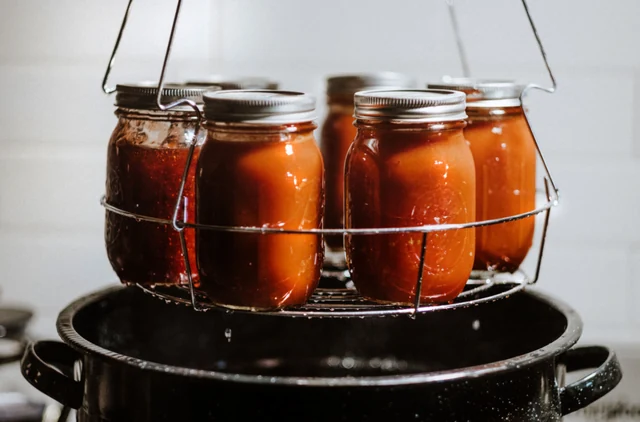
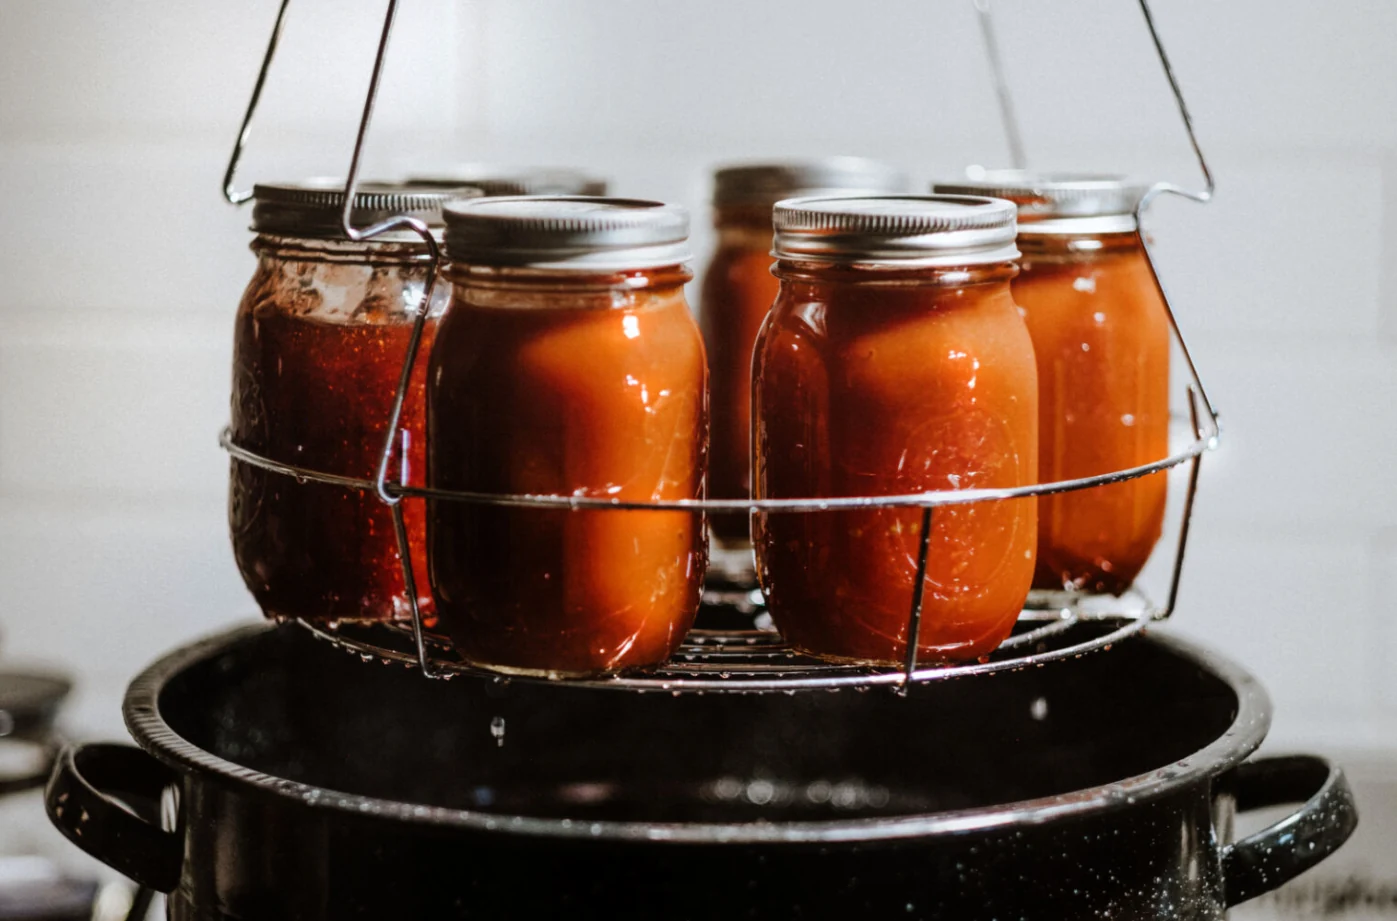
The quart capacity of a pot is not the number of quart jars it can process. The jars, rack, water, and space above the jar tops all occupy room. A product description should distinguish vessel capacity from its stated jar arrangement. Keep those two figures separate on your shortlist.
Jar shape also matters. Two containers described as the same volume can have different outside dimensions. Use the canner's stated jar compatibility and the jar maker's specifications. If you already own jars, write down their actual size and style. Do not assume that a count shown with one jar configuration applies to every container in your cupboard.
The NCHFP equipment guidance describes a canner deep enough for the required boiling water above the jars and a removable rack. It also distinguishes flat and ridged bases and their suitability for heat sources. Use that guidance together with the specific canner and stove instructions. A generous volume does not solve a poor match between the base and burner.
Consider the batch you will realistically make. A smaller planned batch can be easier to organize than a large harvest-day project, especially while learning the workflow. This is a planning choice, not permission to change a tested recipe's proportions or processing. Select a published recipe whose yield suits your needs, then choose equipment that can accommodate its specified jars.
Resolve cooktop compatibility before buying
Enamel-on-steel construction does not by itself establish compatibility with every stove. The base design, diameter, loaded vessel, and appliance instructions all matter. Read the exact model's directions rather than applying a claim from another Granite Ware product. A current manufacturer page may prohibit glass cooktops even when another product in the wider market is described differently.
For example, the manufacturer's white 21 QT canner page identifies a particular model and includes its own usage guide. Keep that exact model reference with your notes. If your stove is a smooth-top or induction appliance, an unresolved compatibility question is a reason to obtain a clear answer before placing an order.
Compare the stove manual with the canner dimensions. Look for the appliance's canning guidance, permitted vessel size, and any loading restrictions. Do not assume that a magnetic response alone settles the question. If you need clarification, provide the model numbers of both products and ask about the intended canning use, not merely whether the pot can become warm.
| Question | Information to collect | Decision |
|---|---|---|
| Does the canner allow this heat source? | Exact canner model and its instructions | Do not infer from a similar product |
| Does the stove permit the setup? | Stove model, burner size, and canning guidance | Follow the appliance limits |
| Does the base suit the burner? | Base shape and diameter | Resolve contact and size requirements |
| Can you reach and work comfortably? | Pot height, controls, and surrounding space | Arrange a stable working area |
Keep one complete recipe as the working reference
Save or print the full tested recipe rather than a cropped screenshot containing only the ingredients. A useful working copy includes its title, source, jar size, packing instructions, processing table, and any notes. If the recipe links to another required procedure, read that too. The goal is to remove guesswork before there is hot food waiting on the counter.
Mark the parts that apply to your batch without rewriting the technical directions from memory. Record your elevation and identify the relevant row in the original table. Keep the original units visible. If a number looks inconsistent, stop and resolve it through the publishing source or your local Extension office rather than choosing the value that seems convenient.
Avoid collecting several partially different versions for the same session. A handwritten family note, a social video, and a tested publication may describe different recipes or jar sizes. Mixing their instructions can create a fourth procedure that none of them actually supports. Choose one complete, appropriate source and keep your shopping and preparation notes beside it.
Our planning suggestion is to give every session a short folder, whether digital or on paper. Include the recipe, equipment details, ingredient checklist, and a blank batch record. That folder is not a new recipe. It is a way to make the original directions easy to retrieve and to remember which equipment and ingredients you used.
Write a shopping list that separates food from equipment
Divide your list into ingredients, jars and closures, equipment, and ordinary cleanup supplies. This makes gaps visible before the day begins. Ingredients should come directly from the selected recipe. Equipment should come from its instructions and from the items you already have. Avoid adding an accessory simply because it appears beside a canner in a photograph.
Check quantities against the published recipe rather than estimating from the size of a produce box. A large purchase can create pressure to process more food than you planned. It is easier to choose a manageable recipe and arrange another appropriate use for excess produce than to improvise a larger batch while the kitchen is busy.
Record the jar size next to each recipe ingredient list. That prevents an easy shopping mistake: buying a jar that looks attractive but is not one of the sizes covered by the instructions. Keep new lids or other closures in their original packaging until you have read their preparation directions. Packaging is useful information, not just something to discard at the door.
If you are comparing a starter kit with separate pieces, make a simple inventory and price each missing item. A kit offers convenience only when its contents match your plan. Owning duplicates of several small tools may be less useful than having the correct canner and a place to store it. Choose the arrangement that supports the whole session.
Arrange the kitchen before ingredients are ready
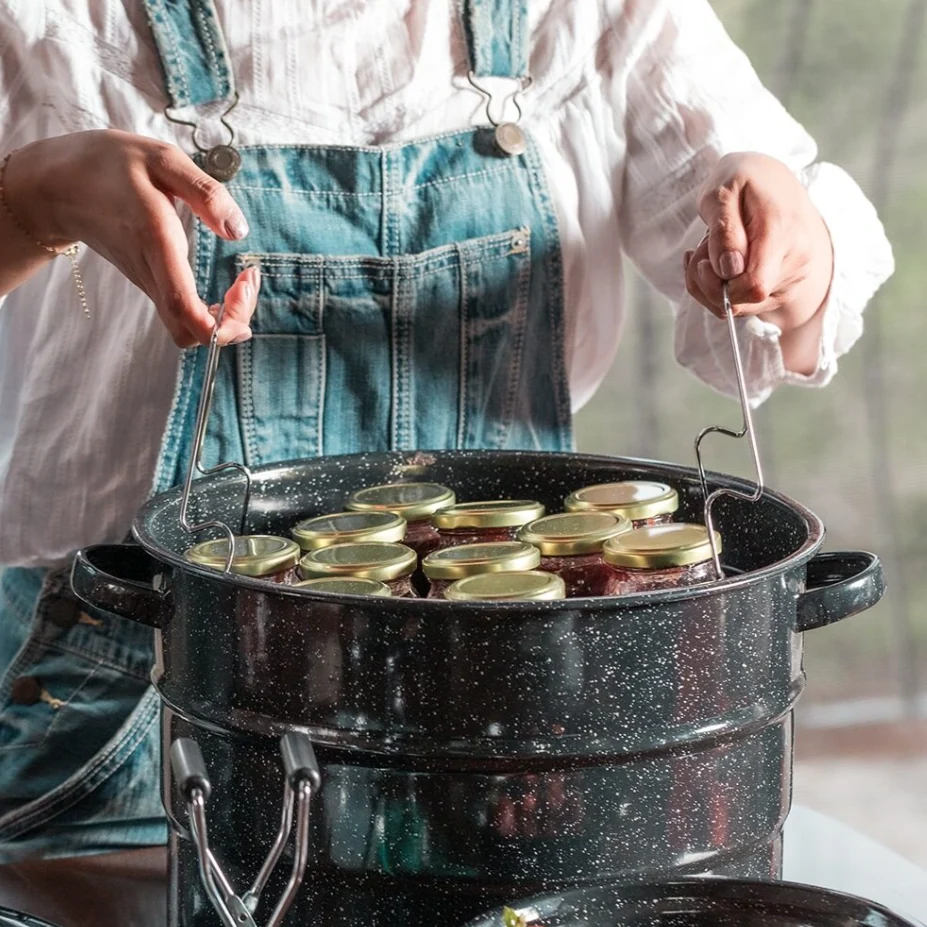
Walk through the session with empty, cool equipment. Find a location for preparing food, a place for the recipe, a filling area, and the stove. Then identify where the jars will cool without being disturbed. This rehearsal lets you move ordinary kitchen clutter before it becomes an obstacle.
Keep the recipe visible without placing a phone or paper where it will become wet or hot. A stand or a clear space on the counter can be enough. Put measuring tools together, and give the jar lifter a consistent resting place. Small organizational decisions reduce the need to search for items during a stage that requires attention.
Choose a session when the kitchen is available. A canning project competes poorly with a complicated dinner, dishwashing, and several people trying to use the same sink. If another person is helping, assign specific tasks and make sure both of you are reading the same instructions. One shared plan is easier to follow than two separate interpretations.
| Work area | Prepare before starting | Keep separate |
|---|---|---|
| Recipe station | Complete instructions and batch sheet | Unrelated recipe versions |
| Ingredient area | Measured supplies and appropriate utensils | Equipment waiting to be washed |
| Filling area | Correct jars, closures, and tools | General household clutter |
| Stove area | Compatible canner, rack, and cover | Unrelated pans and trailing cords |
| Cooling area | Suitable protected space for the finished jars | Busy traffic and items needed for dinner |
Inspect jars and follow their own instructions
Jars and lids are part of the equipment system, not decorative packaging. The NCHFP jar guidance recommends appropriate home-canning jars and closures and explains why damaged sealing surfaces can cause problems. Inspect jars for cracks or nicks, especially around the rim, and use closures as their manufacturer directs. A found jar with a lid that appears to fit is not automatically a suitable canning jar.
Set aside any item you cannot confidently identify. Keep it out of the active workspace so it cannot accidentally return to the batch. This is easier than trying to remember which jar had the questionable rim. If a reusable component belongs to a particular closure system, keep its instructions with it instead of mixing it into a drawer of unrelated parts.
For organization, group the jars for one recipe together and keep the remaining inventory elsewhere. Check that the batch sheet describes the same jar size as the group on the counter. This provides a visual cross-check without adding a new technical rule to the recipe.
Consider replacement supplies before the session. A damaged jar or missing closure should not force a rushed change to an unapproved container. The practical value of having appropriate spares is flexibility in the shopping plan, not permission to alter the processing directions. If the equipment no longer matches the tested recipe, postpone the batch until it does.
Use the original directions during processing
Read the complete NCHFP boiling-water procedure before beginning. Its instructions cover preheating, loading, water level, timing, and removal. Processing time begins when the water reaches the specified boil, not when jars are first placed in warm water. If boiling stops during processing, its directions require restoring the boil and restarting the full processing time.
The same procedure calls for water at least one inch above the jars, with two inches for processing times over thirty minutes. Use the precise recipe and equipment instructions for your batch, including elevation adjustments. Keep the jars upright during handling. At the end, follow the stated waiting and removal steps instead of improvising a faster cooling method.
Your own notes should describe what happened, not change the procedure. Record the selected recipe and the time the relevant stage actually began. If something interrupts the process, consult the original directions immediately. A record is useful for identifying an interruption; it cannot make an incomplete process adequate after the fact.
Avoid treating an internet checklist as the recipe itself. A checklist can remind you to consult the right section, but it should not reduce a detailed preservation procedure to a few reassuring slogans. Keep the authoritative instructions available throughout the session and use a reliable timer. Where a situation is not covered, seek advice from a qualified local Extension resource before treating the food as shelf-stable.
Reserve the cooling space for the full period
Finished processing is followed by a separate cooling and inspection stage. NCHFP guidance calls for cooling jars undisturbed for 12 to 24 hours and warns against retightening hot lids. After cooling, remove screw bands and check seals using the specified methods. An unsealed jar needs the appropriate follow-up action; it should not simply be placed with the shelf-stable batch.
Plan that waiting period when you choose where to work. A counter needed for breakfast may be a poor place for jars that must remain undisturbed overnight. A cooling location should be part of the original kitchen arrangement, not a space borrowed after the canner finishes. Tell anyone sharing the kitchen which area needs to remain clear.
Put the next review time on your batch sheet. This is an organizational reminder, not a substitute for checking the actual condition of the jars. When the review is due, use the official instructions rather than judging the batch from a photograph or the sound you heard earlier.
If a seal fails or you are uncertain whether the process was followed correctly, consult current NCHFP or local Extension guidance. Different problems may require different responses. Do not taste questionable food to decide whether it is safe. A clear record of the recipe, jar size, timing, and interruption will make any advice request more specific and useful.
Keep a short record you will actually use
A practical batch record should be easy enough to complete during a real session. A single page is often more useful than an elaborate system with dozens of fields. Include the information that identifies the recipe and process, then leave room for observations about equipment and workflow.
Give the batch a simple name or number that also appears on your storage inventory. For example, a date plus a recipe abbreviation can connect the jars with the correct notes without requiring a separate app. Write legibly and keep the source link or publication title intact. Months later, the exact recipe will matter more than a memory of where you found it.
| Record field | What to write | Why it helps |
|---|---|---|
| Recipe | Full title, source, and version or access date | Identifies the instructions followed |
| Batch | Preparation date and a simple reference | Connects notes with labelled jars |
| Jar format | Size and closure system | Preserves the equipment context |
| Location | Elevation used for the recipe's adjustment | Makes the selected process understandable |
| Process | The applicable instructions and actual start/end notes | Documents the session without inventing a new schedule |
| Follow-up | Seal review and storage location | Separates completed work from unresolved jars |
Keep workflow comments separate from recipe changes. You might note that a different counter would make filling easier or that the storage shelf needs a clearer label. Those improvements do not alter the food formulation. If you want a different flavor or batch size next time, find a tested recipe that supports that choice rather than revising the current one casually.
Plan the shelf as carefully as the stove
The NCHFP storage guidance recommends labelling and dating jars and keeping them in a clean, cool, dark, dry location. It gives 50°F to 70°F as a preferred range for quality and advises planning quantities around what you will use within a year, unless the specific food directions say otherwise. It also describes cleaning jars and storing them without screw bands to make seal problems easier to notice.
Translate that into a household inventory you can maintain. Give each recipe a defined area rather than spreading identical jars across several cupboards. Keep the oldest suitable batch accessible. When a jar is used, update the count if you are tracking quantities. The objective is to know what you have, not to create paperwork for its own sake.
Avoid selecting the number of jars only from the size of the canner. Think about how often your household will actually use the food. A recipe that produces an appropriate quantity is more useful than a large batch that fills every available shelf. Storage planning can therefore influence recipe selection before any equipment is purchased.
Keep the batch record outside the storage area if moisture or spills could damage it. A simple digital photograph of the completed sheet provides a backup. When giving properly processed jars to someone else, include their identity and date clearly. If you cannot explain how a jar was prepared or stored, resolve the uncertainty rather than offering it as a confident gift.
Put the equipment away ready for next time
After the session, clean and dry the equipment according to each maker's directions. The enamel pot, wire rack, jar lifter, and smaller tools may have different materials and instructions. Do not assume that a dishwasher-safe statement for one component covers every item in a kit. Keep packaging or a saved instruction sheet until those differences are clear.
Check the canner's rim, handles, interior, and base while it is clean. Keep damaged equipment out of the next session until its condition has been resolved. Our Granite Ware care guide explains how to organize routine washing and inspection without resorting to aggressive scraping or improvised repairs.
Store the components together only when they are fully dry and their arrangement does not create knocks or abrasion. Keep the rack identifiable for its matching canner. Put small tools in a location where their purpose remains obvious. A short inventory attached to the storage area can prevent a missing lifter from becoming a discovery on the morning of the next batch.
Choose a setup you can repeat comfortably
The useful result of a first session is a repeatable routine: a suitable tested recipe, compatible equipment, enough working space, and a clear record. You do not need to begin with the largest canner or the most elaborate kit. You need a setup that supports the recipe and makes its instructions practical to follow.
Before your next purchase, review what actually caused inconvenience. Perhaps the pot was difficult to store, a tool was missing, or the filling area was too crowded. Solve the specific problem. A larger vessel will not fix an unsuitable cooktop, and more tools will not replace a complete recipe.
Compare the canning range with your measurements and inventory beside you. For ordinary cooking rather than shelf-stable preservation, browse pots and pans. If you are planning an oven meal, our roaster guide covers a different set of fit and handling decisions. Choosing the right method first keeps each piece of cookware working in its intended role.